
I wrote an adorable cozy mystery where the main character (MC) whipped up some delicious, healthy, vegetarian dog cookies in her kitchen. That spur-of-the-moment decision for my MC was backed up by tons of research and experimentation. Unfortunately, that book hasn’t been picked up (yet) and may or may not get revisited at a later date but fortunately, my puggle loves homemade dog treats.
As do my neighbor’s dogs and friend’s dogs and tattoo artist’s dogs and … well, you get the picture.

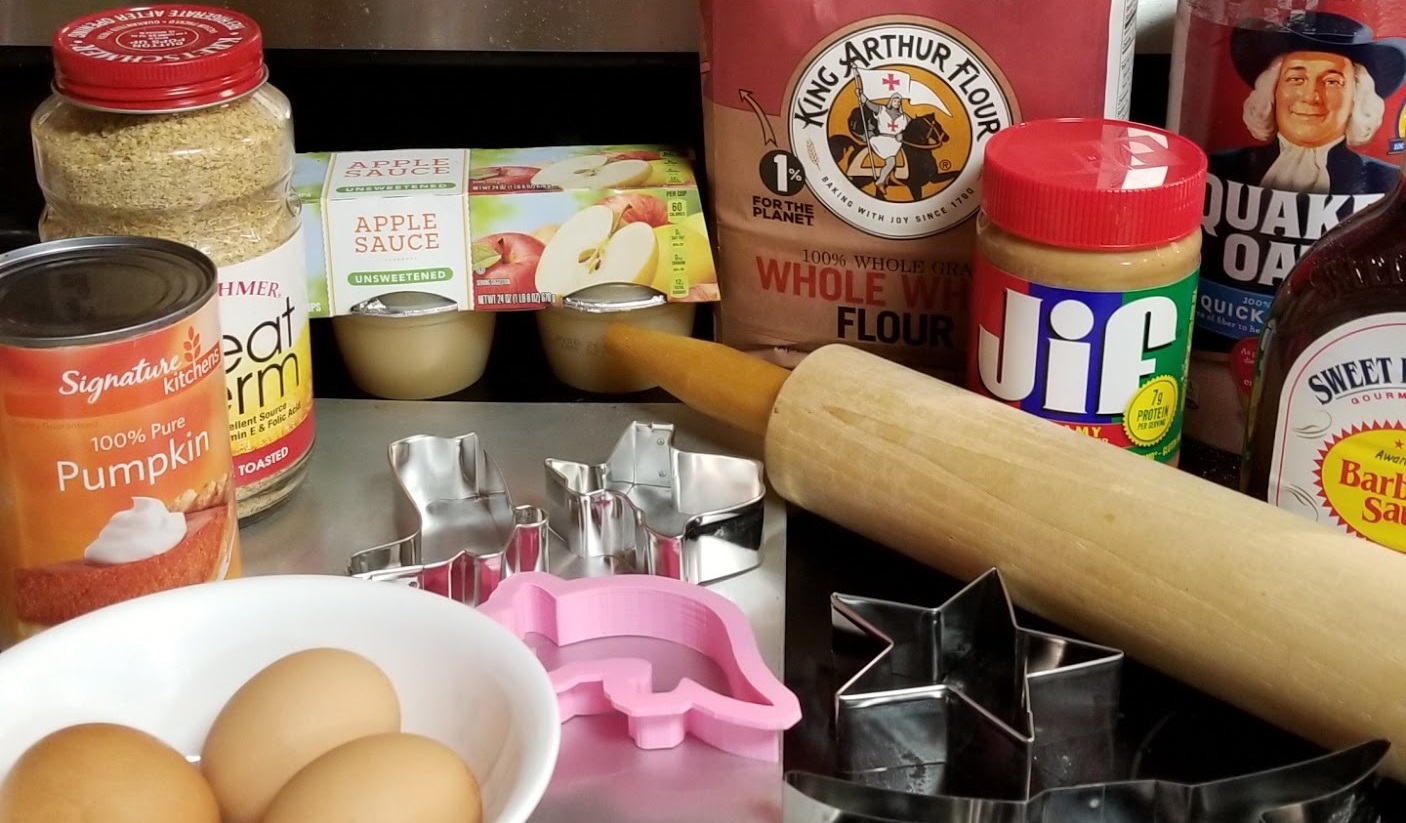
These treats are easy to make, and as you can see, they yield a ton! If I’m making a batch of both BBQ (on the left above) and Pumpkin Butter (on the right above), from prepping to cleaning up after, it might take 90 minutes at the very most. If you’re like me and you have a small dog, it’s great to package the excess and give baggies of dog cookies away to friends and neighbors. I always label the baggies with the (1) date* and (2) ingredients list (in case of allergies!)
*Why is the date so important? These cookies have ZERO PRESERVATIVES. None. Nada. They will spoil if not stored correctly or eaten in a timely manner. Personally, I keep ’em in the freezer and the dog loves them right out of the freezer (especially in the summer!) In any event, follow the rule of 3s for storage and serving:
- 3 days on the counter
- 3 weeks in the refrigerator
- 3 months in the freezer
Now that I’ve gotten the backstory and the all-important storage disclaimer out of the way, here’s the fun part – the actual recipes I use. Yes, they really are this simple.
| Liv’s Pumpkin Butter Dog Cookies (Peanut Butter and Pumpkin) |
| ⅔ cup pumpkin puree ¼ cup creamy peanut butter 2 large eggs 2 cups wheat flour |
| Liv’s Bark-B-Que Dog Cookies (BBQ, Oats, and Applesauce) |
| 2 cups wheat flour ½ cup wheat germ ½ cup oats ⅓ cup bbq sauce (homemade or not) 1 large egg 4 oz unsweetened applesauce 2 tbls water |
Instructions:
- Mix ingredients until combined (I use a big wooden spoon as the result should be a thick dough that most mixers can’t easily handle.)
- Roll out like you would for sugar cookies (I use parchment paper, a cutting board, and a pie roller). You may find yourself needing to add either flour or water to get the right dough consistency.
- Cut into pieces appropriately sized for your dog or use cookie cutters (more fun but a lot more work!) The cookies don’t spread out in the oven so the size you cut is the size you will get.
- There’s not a lot of added oil in the dough, so I advise oiling your baking pans (I use Pam spray). Cookies can be placed fairly close together as they do not spread.
- Bake at 350° 18-20 min (could be less or more depending on the size and thickness you’ve made, your location, etc).
- When done, remove and let cool (while keeping a close eye on your doggo as even the best behaved pupper might be tempted to steal these — I’m looking at you, Bailey!)
And don’t forget to label the container with the date so they are on the counter for no more than 3 days, in the fridge no more than 3 weeks, or the freezer no more than 3 months.
These two recipes have been a huge hit, but when I have some time I’m going to keep experimenting. I doubt I’ll have any chicken or bacon recipes anytime soon (dog’s not a vegetarian, but I am!) so check back to see if I’ve come up with any new flavors!
What, new flavors, you say? Check out Going to the Dog Cookies Part 2 with a practically endless list of flavors from just two simple ingredients!
Can’t get enough puggle? Baileycakes has her own Instagram account filled with adorable puggleness!


