
I love hockey. And crochet. And kawaii style. So of course, I decided to use this lock down to get into Amigurumi – the art of making adorable dolls out of crochet. My first attempt was a MAGNIFICENT purple dragon and now I’ve decided to try something even more ambitious.

More ambitious than an ENORMOUS purple dragon? you ask. Well, yeah.

<hint: One will have yellow shoelaces, one will have removable gloves, and one will have more padding than the others!> Who am I kidding? It’s hockey. I’m crocheting a player. Or, depending on how it goes, hockey players. Maybe even a whole team, plus mascot!
Note: This pattern was purchased from the talented Mandie at www.GingerSnapMandie.etsy.com.

Day 2: At the end of Day 1, I had completed the first two steps (Head and helmet) and was starting on the skates when I hit upon a term I hadn’t seen before. I googled it and as I was watching the YouTube video (a crafter’s best friend, BTW) I realized I’d been using the wrong stitch…the whole time. I’d essentially been using an elaborate and completely made-up single-and-a-half stitch instead of a single and my head and helmet turned out to be time and a half as large as they should be! So now I’m faced with the choices of: 1) starting all over 2) continuing to use the double stitch and creating all the doll(s) twice as large (and take twice as long time and materials) or 3) do the body correctly and see what it looks like as a “bobble head”. I choose #3. And then immediately start all over on a new head the correct size, because I’m indecisive and also I want to see what both look like before making a decision that will effect potentially an entire team of dolls.

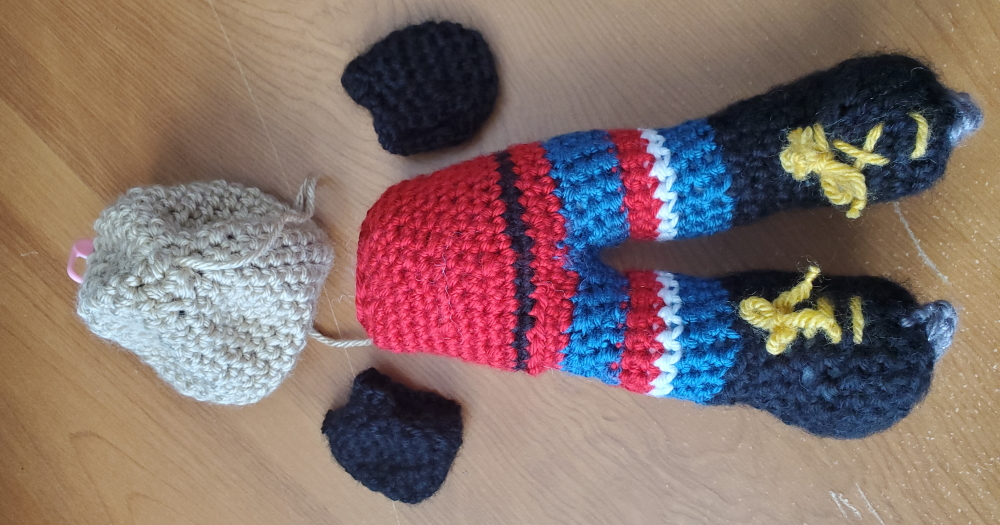
Day 3: Progress continues. I got the legs, body, and gloves done, along with the yellow laces on the skates. I hope this evening I can get the arms and helmet done, then all it needs is to be stitched together and personalized.
I followed the pattern and started the assembly. But I’m smart enough to know that safety eyes should be installed before stuffing if possible and managed to stuff him well enough that he can stand on his own. After adding a few more touches here and there…. I proudly present OVI!


